SGB Custom Painting Blog
Common Cabinet Painting Mistakes (and How to Avoid Them)
Frank White • July 9, 2026 | Chico, CA | USA
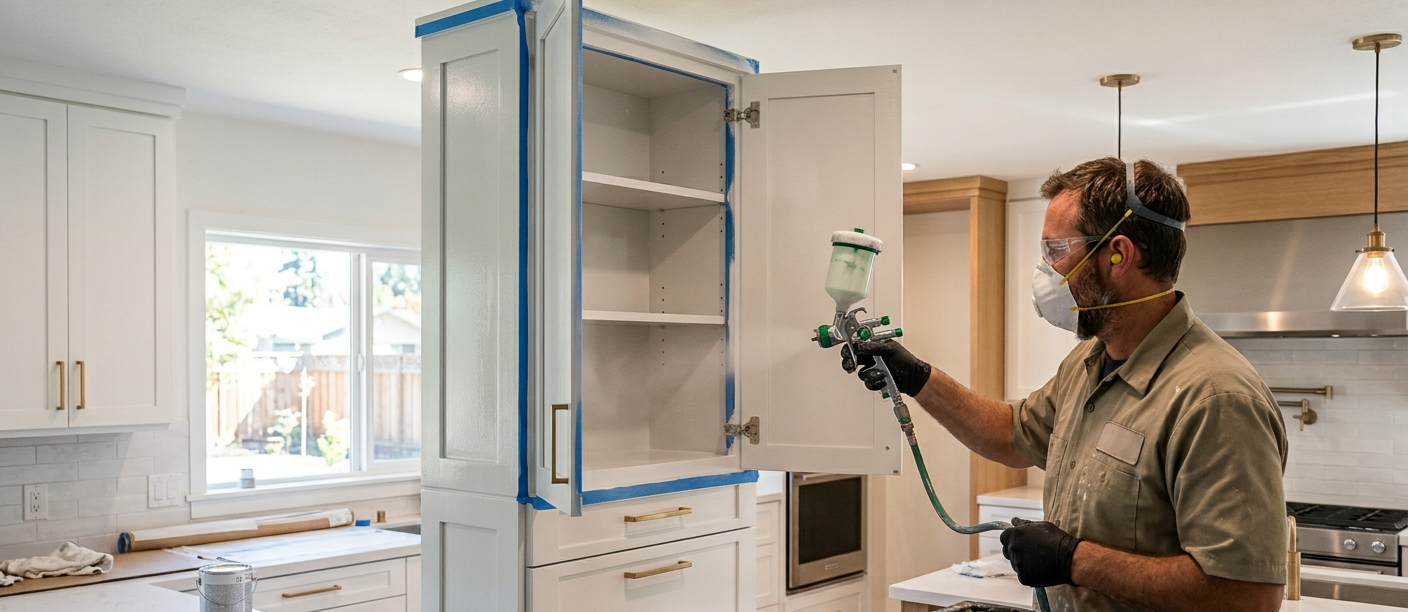
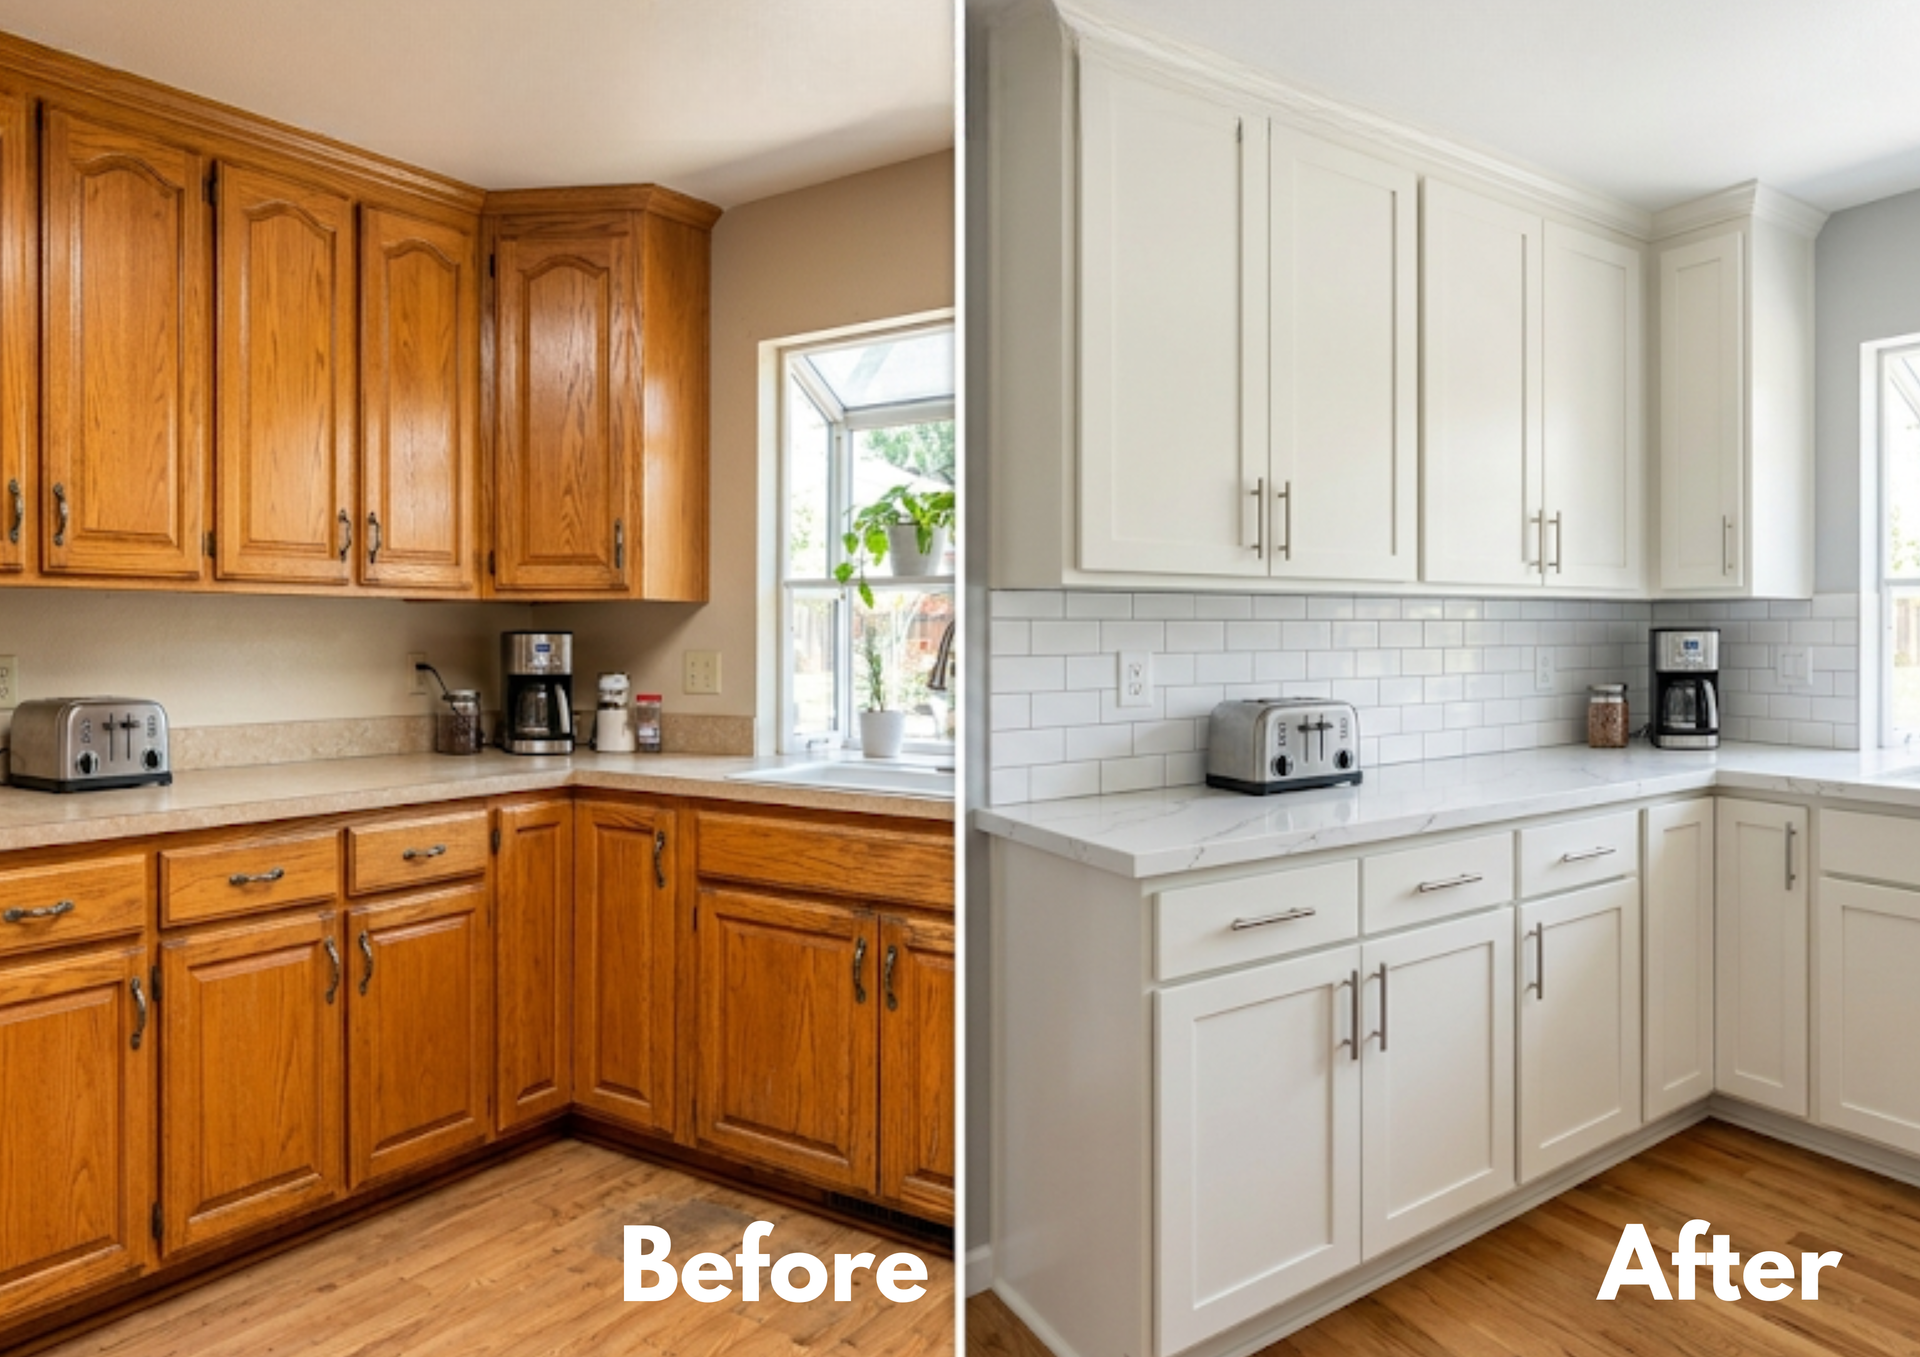
Painted cabinets can make an old kitchen look new. They can also peel, chip, and show every brush stroke within a few months if the job is rushed or done with the wrong products. The difference almost always comes down to a handful of avoidable mistakes. Whether you are planning to paint your cabinets yourself or hire a painter, knowing these mistakes helps you get a finish that lasts. If you want the full professional process step by step, see the process professional painters use for cabinet refinishing.
Quick Answer: What Are the Most Common Cabinet Painting Mistakes?
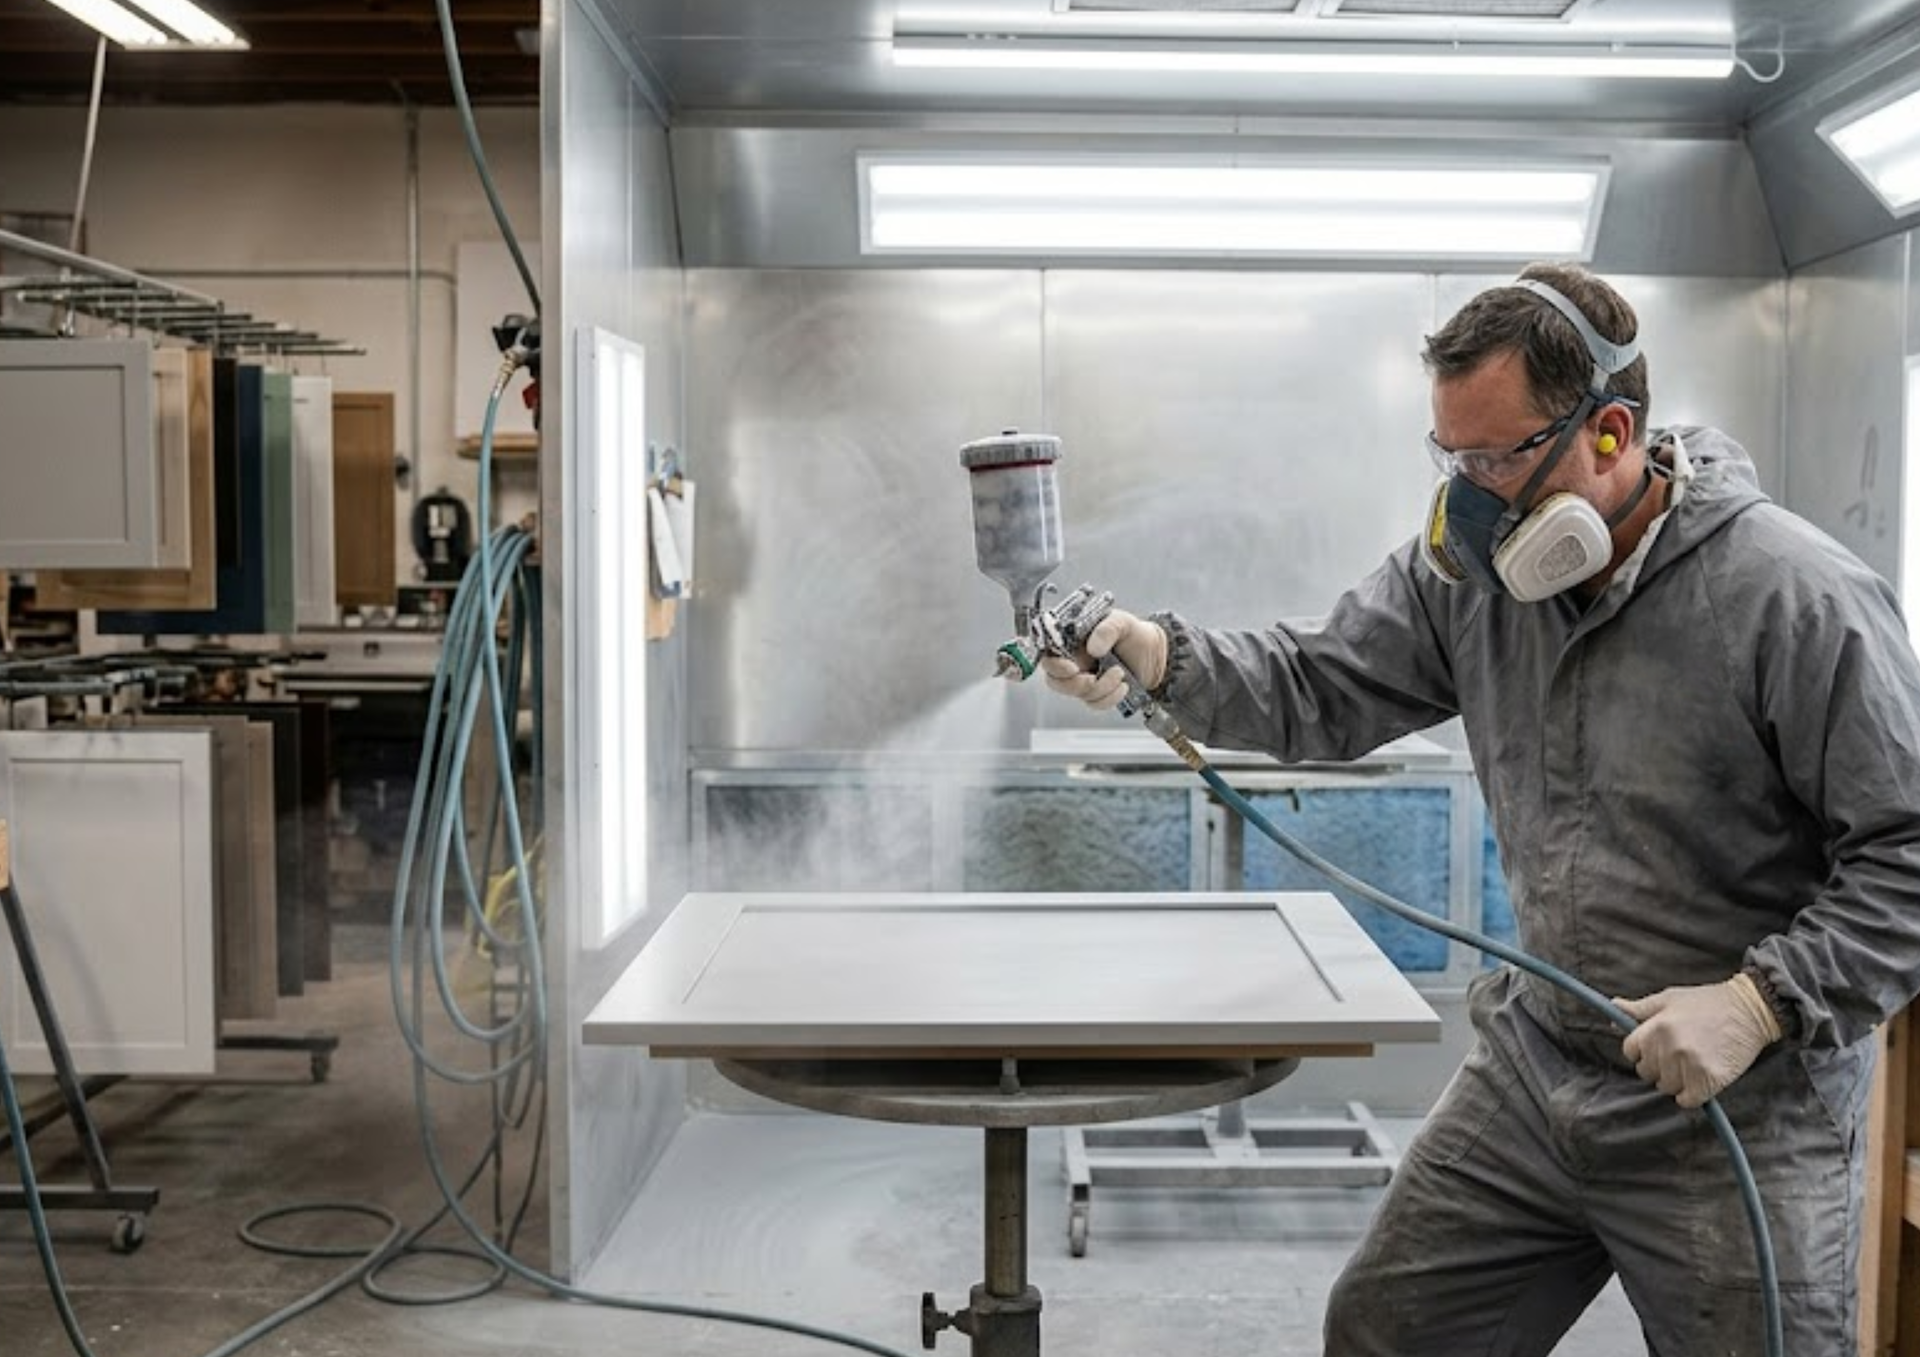
The biggest mistakes are skipping a thorough degreasing, not sanding or deglossing, using the wrong primer, applying thick coats, painting cabinets that are damaged or peeling, and putting doors back on before the paint has cured. Most cabinet paint failures start with prep, not with the paint itself.
What We Wish Every Homeowner Knew Before Painting Cabinets
Most people expect painting cabinets to be like painting a bedroom wall. It is not. These are the surprises homeowners mention most often.
Most of the work happens before any paint goes on. Removing doors and hardware, labeling everything, degreasing, sanding, filling and priming take far longer than the painting itself. On a typical kitchen, prep is the bulk of the job.
“Clean” cabinets are not clean enough. Years of cooking grease, fingerprints and cleaning product residue leave a film that is often invisible but stops paint from bonding. Cabinets near the stove and around handles are usually the worst.
Dry is not the same as cured. Cabinet paint can feel dry to the touch within a few hours, but it can take several days to a few weeks to reach full hardness, depending on the product. Until then, it scratches and dents easily.
Your kitchen will be out of order for a while. Doors and drawers are usually off for several days. Plan simple meals and clear the counters before work starts. Our post on how long it takes to paint kitchen cabinets gives a realistic timeline.
Color looks different on a whole kitchen. A color that looks soft on a small chip can look much stronger across a full run of cabinets, and natural light, under-cabinet lights, and overhead fixtures all change it. Test a sample on a door and look at it at different times of day.
Oak grain shows through paint. If you have oak cabinets and want a perfectly smooth, modern look, the open grain will still show through paint unless it is filled first. Some homeowners like the texture. Others are surprised by it. Decide which you want before you start.
Prep Mistakes
1. Skipping or Rushing the Degreasing
This is the most common cause of peeling cabinet paint. Soap and water are not enough to remove kitchen grease. Cabinets need a proper degreasing cleaner, followed by rinsing so no residue is left behind. Pay extra attention to areas around the stove, sink, trash cabinet, and handles.
2. Not Sanding or Deglossing
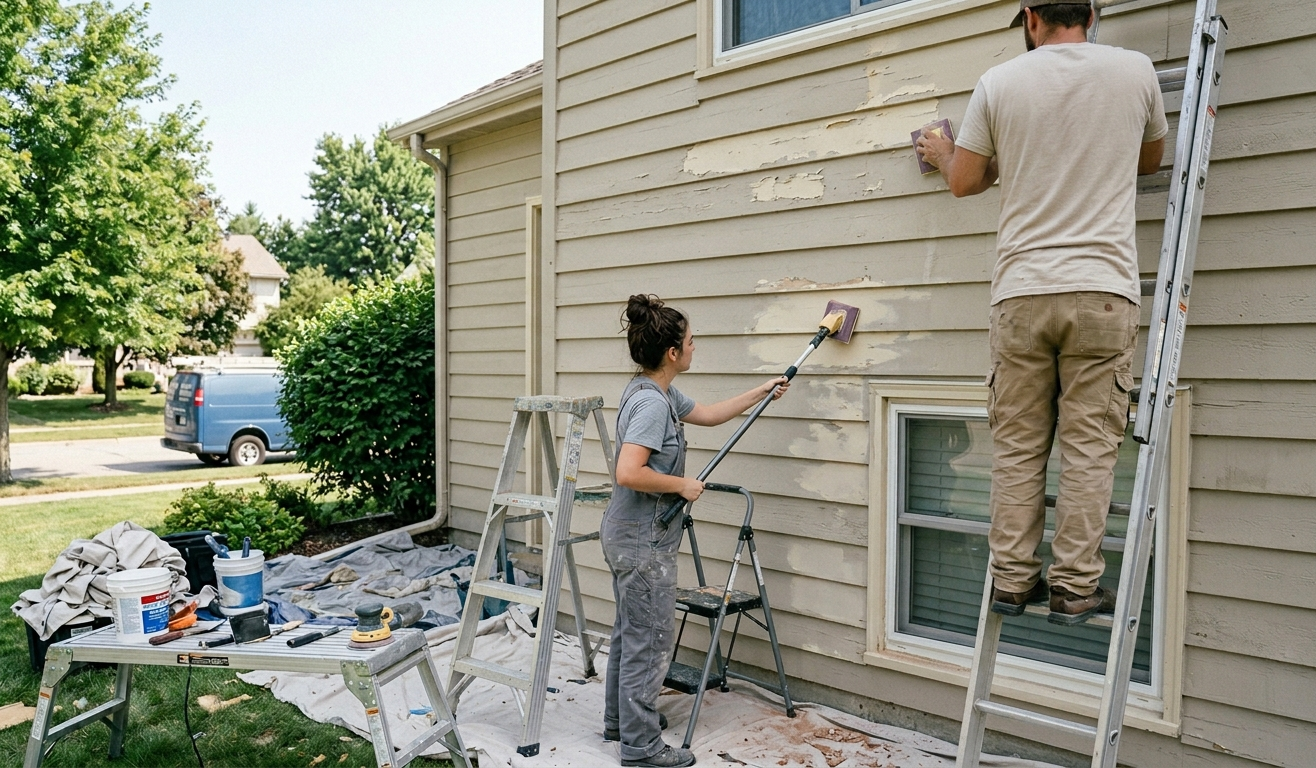
Most cabinets have a slick factory finish or varnish. Paint does not grip a glossy surface well. Lightly sanding or using a liquid deglosser roughs up the surface so primer can bond. “Paint and primer in one” products do not replace this step on previously finished cabinets.
3. Leaving the Doors On and the Hardware In
Painting doors in place leads to drips, missed edges, paint on hinges, and an uneven finish. Remove the doors, drawer fronts, and hardware, and paint the doors flat. Label each door and its hinges with a numbered piece of tape so everything goes back in the right spot.
4. Using the Wrong Primer
Primer matters more on cabinets than on walls. A bonding primer helps paint stick to slick surfaces. On oak and other tannin-rich woods, a stain-blocking primer helps stop the wood’s natural tannins from bleeding through and leaving yellow or brown stains in light paint colors. Using a standard wall primer, or skipping primer altogether, is a common reason paint peels or discolors.
5. Painting Over Damage
Paint will not fix swollen particleboard, water damage, peeling laminate, or bubbling thermofoil. Painting over these problems hides them for a short time before the finish fails. Repair or replace damaged parts first, or consider other options. Our guide to cabinet painting vs refacing vs replacing helps you decide.
6. Not Filling Holes and Dents
If you are changing hardware, old screw holes need to be filled and sanded smooth before priming. Dents and dings show up more under a fresh, even color than they did under wood grain.
Painting Mistakes
7. Using Wall Paint
Standard wall paint is not made to handle the constant touching, cleaning, moisture, and grease that cabinets face. It tends to stay soft and can feel tacky, chip, or stick when doors close. Cabinets need a hard-wearing, cabinet-grade coating. See what type of paint is best for kitchen cabinets for what to look for.
8. Applying Thick Coats
Trying to cover everything in one heavy coat leads to drips, sags, slow drying, and a soft finish. Several thin coats look smoother and cure harder than one thick one.
9. Not Sanding Between Coats
Dust, brush hairs, and small bumps get trapped in every coat. A light sanding with fine-grit sandpaper between coats knocks them down and leaves a smoother final finish.
10. Using Cheap Brushes or Rollers
Low-quality brushes leave visible brush marks and shed bristles into the paint. Cheap rollers can leave a bumpy texture. Spraying gives the smoothest finish, but if you are brushing and rolling, use a quality brush and a fine-finish foam or microfiber roller.
11. Painting in the Wrong Conditions
Cold, damp, or very humid conditions slow drying and curing. Very hot, dry air can make paint dry too fast and show lap marks. Check the temperature range on the product label, and keep the room ventilated.
12. Forgetting the Edges and Frames
The edges of doors, the cabinet frames, and the inside edges where doors overlap all show when cabinets are open. Missing them makes the job look unfinished up close.
Finishing Mistakes
13. Rehanging Doors Too Soon
This is one of the most expensive mistakes because it is easy to damage a finish that took days to build. Doors rehung before the paint has hardened can stick to the frames, pick up hinge marks or get scuffed. Follow the product’s recoat and cure times, and handle doors carefully for the first few weeks.
14. Loading Shelves Right Away
Heavy dishes and pans set on freshly painted shelves can leave permanent marks. Give the paint time to harden before restocking, and go easy for the first couple of weeks.
15. Cleaning Too Hard, Too Soon
Scrubbing with harsh cleaners or abrasive pads can dull or damage a new finish. Use a soft cloth and mild soap, and avoid heavy scrubbing until the paint is fully cured.
Should You Do It Yourself or Hire a Pro?
Painting cabinets yourself can save money if you have the time, patience, and right equipment. Many homeowners find the job takes much longer than expected, and fixing a peeling or uneven finish costs more than doing it right the first time.
If you hire a painter, ask how they handle each of the mistakes above: how they degrease, which primer they use, whether they spray, how many coats they apply, and when the doors go back on. A good cabinet painter will answer clearly. Our guide to how much it costs to paint kitchen cabinets in Chico explains what is usually included in a professional price.
If a professional cabinet paint job is already peeling or chipping, see what to do if a painter does poor work.
Frequently Asked Questions
Why is the paint peeling off my kitchen cabinets?
Cabinet paint usually peels because the coating did not bond properly to the surface or because moisture, grease, wear, or an incompatible finish weakened the bond. Common causes include incomplete cleaning, inadequate abrasion, skipped primer, unsuitable products, painting over a glossy coating, or applying new coats before earlier layers were ready. High-contact areas around handles often fail first because they receive repeated contact with hands, grease, and cleaning products. Peeling paint should not simply be covered with another coat. The loose material and underlying finish need to be evaluated so the correct repair method can be chosen. Older coatings should also be assessed for lead hazards before sanding or removal.
Do I really need to sand cabinets before painting?
Most cabinets need some form of surface abrasion before painting, but that does not always mean aggressive sanding. Light sanding can dull a glossy finish, smooth defects, and create a surface that helps a compatible primer bond. Some coating systems allow a liquid deglosser or specialized bonding primer, but those products still require thorough cleaning and must be used according to their instructions. The right preparation depends on the cabinet material, existing finish, coating condition, and selected paint system. Laminate, wood, MDF, factory finishes, and previously painted cabinets may require different methods. Always test adhesion when compatibility is uncertain, and use lead-safe procedures before disturbing older painted surfaces.
Why is yellow or brown showing through my white cabinet paint?
Yellow or brown discoloration showing through white cabinet paint is often caused by wood tannins, old stains, grease, smoke residue, or contaminants migrating into the new finish. Oak, mahogany, cedar, and other woods can release natural compounds that remain visible through some water-based primers and light-colored topcoats. Applying additional finish paint without addressing the source may not solve the problem. The affected surface should be cleaned, allowed to dry, and sealed with a compatible stain-blocking primer selected for the suspected contaminant and cabinet material. Severe staining may require another primer coat after the first has dried. Test the complete coating system on a small area before finishing the entire kitchen.
How long should I wait before putting cabinet doors back on?
Wait until the selected coating has dried enough for handling and installation according to the manufacturer’s instructions before rehanging cabinet doors. Dry time, recoat time, handling time, return-to-service time, and full cure are not the same. A finish can feel dry on the surface while remaining soft enough to mark, stick, or chip around hinges and hardware. Temperature, humidity, ventilation, film thickness, primer, and application method can also change the timeline. Once the doors are installed, handle them gently and avoid harsh cleaning, slamming, or placing bumpers against uncured paint. Follow the product’s technical guidance instead of relying on a universal number of hours or days.
Get a Cabinet Finish That Lasts
At SGB Custom Painting, we take the time to prep, prime, and paint cabinets properly so the finish holds up to everyday use. Learn more about our cabinet painting service or contact us to book a free estimate in Chico and the North Valley.
About SGB Custom Painting
SGB Custom Painting is a trusted Chico Painting Contractor known for clean prep, clear communication, and color that holds. For more than twenty five years, our local team has delivered interior, exterior, and cabinet projects for homes and businesses with careful protection, proper priming, and tidy jobsites. We follow EPA lead safe practices on older properties, keep schedules dependable, and give every project the respectful touch the North Valley deserves.
Love Your Space Again, Starting Today!
Locally Owned & Operated • EPA Lead Safe Certified • CSLB Licensed
Call 530-924-4109 or complete the form and expect a friendly call to confirm scope, discuss color options if needed, and deliver a no surprise estimate you can approve with confidence.
Contact Us
Refresh Your Home With Professional Painting
If you are thinking about repainting your interior, freshening up exterior siding, updating tired kitchen cabinets, or giving your business a cleaner look, our team is here to help you plan it right and paint it to last. Reach out to SGB Custom Painting to talk through your project, get honest expert guidance, and take the next step toward a home or workspace you will be proud of every day.
Follow Us
Elevate Your Space with SGB Custom Painting